Manual setup
Configure Supabase, deploy the app’s functions and run a NativeExpress development build.
You can continue with a coding agent at any point. Open the project and ask it to
follow the bundled setup skill. See Quickstart.
Before you start
Install Node.js 22.13 or later, yarn, Git and the Supabase CLI. You need access to the NativeExpress GitHub repository and accounts with Supabase and Expo . Install the EAS CLI to link your Expo project. Local builds also need your platform’s toolchain.
Run the commands below from your app’s root directory after scaffolding it.
Scaffold the project
npx nativeexpress@latest create-app my-app
cd my-app
yarn install
The scaffolder asks for two things: the app name and your Expo account username. From
them it derives the slug, URL scheme, iOS bundle identifier and Android package name,
shows the four values once, and lets you confirm or correct them. The
derivation rules are the ones the setup
skill uses. It writes the result into config.js, and optionally your Supabase URL and
key into .env.local; if you skipped those, copy .env.example to .env.local
before the next step.
Pass --owner <username> and -y to accept the derived values without prompts, or
pin a value with --slug, --scheme, --ios-bundle-identifier or
--android-package-name.
When it finishes, it prints the prompt that starts the setup skill’s discovery phase. You are doing that by hand here, so the next two steps replace it.
If cloning returns a 404 or permission error, check that your GitHub account has
access to the repository. Add --ssh to the scaffold command if you use SSH for GitHub.
Write the product brief
Open PRODUCT.md and replace the boilerplate’s example values with your own, deleting
each section’s TODO line as you go. The product brief page
lists the sections and the allowed values. Coding agents and yarn skills:doctor read
the file; even without an agent, it is the one place your decisions are written down.
Remove what you will not use
yarn remove:feature scan --dry-run
yarn remove:integration onesignal --dry-run
Run the removals for every feature marked remove and every integration marked off
in the brief, without --dry-run once the list looks right. Do this before configuring
anything, so there is nothing to configure for what is gone.
Removing features and integrations
covers what each script changes and what is not removable.
Create your Supabase project
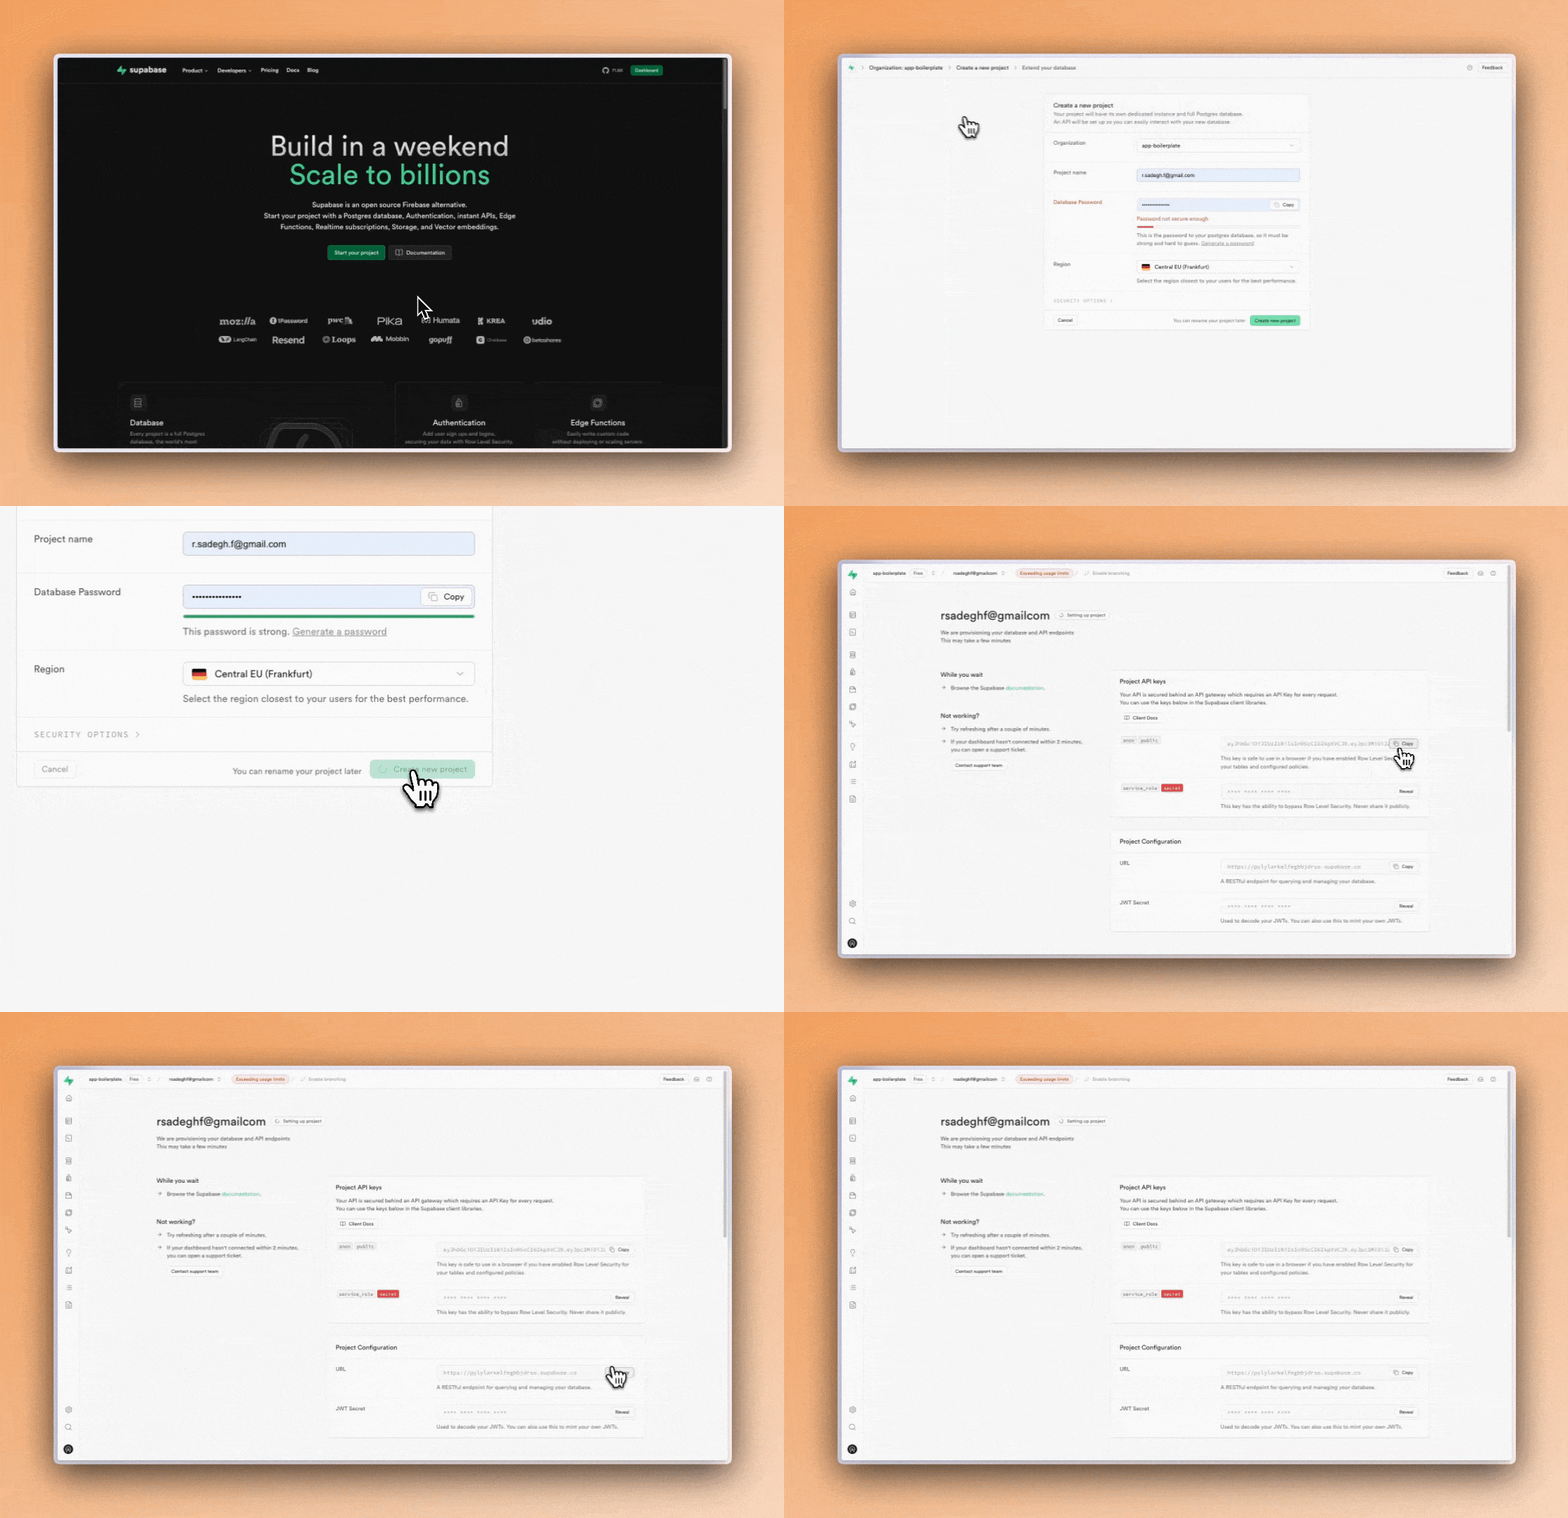
Create a project in the Supabase dashboard , then copy
its project URL and publishable key into .env.local. Both are in the project’s API
keys settings and in its Connect dialog:
EXPO_PUBLIC_SUPABASE_URL="https://<project-ref>.supabase.co"
EXPO_PUBLIC_SUPABASE_ANON_KEY="sb_publishable_..."
The variable is still named ANON_KEY and takes the publishable key as it is. Never
put a secret key (sb_secret_…) or the service_role key in it: every EXPO_PUBLIC_
value is compiled into the app, and those two keys bypass row-level security.
An older project may still show a legacy anon key starting with eyJ. It works in
the same variable until Supabase removes the legacy keys by the end of 2026. To move
an app that already ships one, see
Replace the legacy Supabase keys.
Keep Confirm email enabled if you want verified addresses. The app has a check-your-inbox screen and a resend action. Configure email delivery and redirect URLs as described in Authentication.
Apply the database schema
Link the CLI to the project you just created and apply its initial migration:
supabase login
supabase link
supabase db push --linked
The migration creates the AI tables, row-level security policies and
count_monthly_usage function. It also creates the public avatars bucket and
private chat-media bucket with their access policies. No seed data is included.
Confirm that the migration is applied:
supabase migration list --linkedCheck that both buckets appear in Supabase Storage, then generate database types for your project.
For a local Supabase instance, follow local development
and use its URL and public key in .env.local.
Set edge function secrets and deploy
Set OPENROUTER_API_KEY in your project’s function secrets, then deploy chat,
generate, identify and delete-account, minus any function whose feature you
removed. Follow Secrets and
Deploy edge functions.
OpenRouter must accept requests for the models you use. Check the key and available credit if chat returns a provider error. See AI troubleshooting.
Check your app identity
The scaffolder wrote these general values in config.js. Review them before anything
is built or submitted:
| Setting | What it holds |
|---|---|
appName | The name shown to users |
slug | Your Expo project slug |
owner | Your Expo account or organization username |
scheme | The URL scheme used to open your app |
iosBundleIdentifier | Your iOS bundle identifier, such as com.company.myapp |
androidPackageName | Your Android package name, such as com.company.myapp |
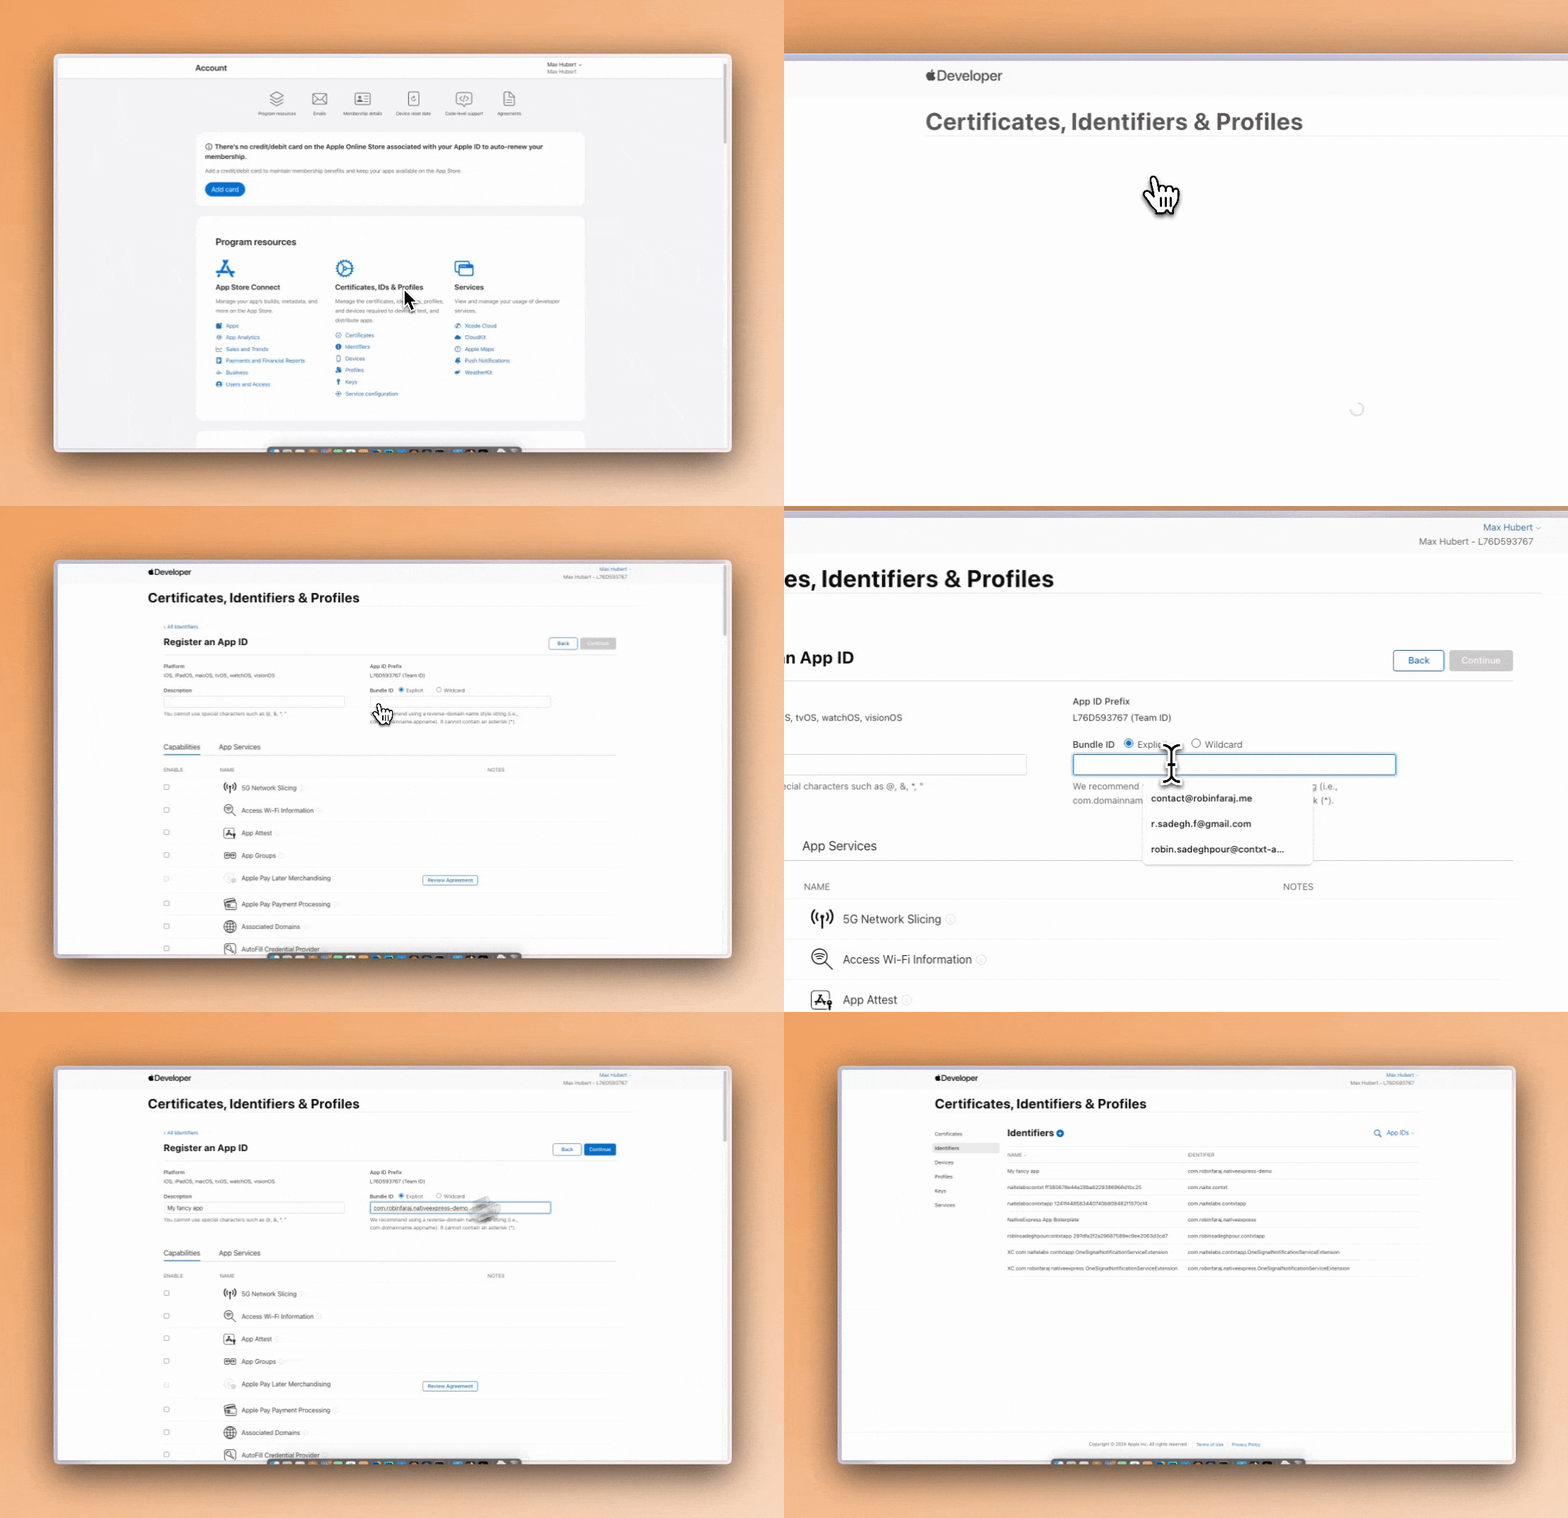
For iOS device builds, EAS or Xcode can register your bundle identifier during signing. You can also register it manually as an App ID in your Apple Developer account . Use the same Android package name when creating your Play Store app.
Set profilePage.supportPage and profilePage.contactPage to your own URLs before
shipping. Configure the googleOauth values if you enable Google sign-in.
Create an EAS project
eas login
eas init --account <owner> --non-interactive
Use the same account name as general.owner. The command ends in a red error by
design: EAS creates the project, then cannot write the project ID into this app’s
dynamic app.config.js and exits with Cannot automatically write to dynamic config.
Nothing failed. Copy the UUID from the projectId line it printed into
general.easProjectId in config.js. Running it again is safe; it finds the existing
project and prints the same ID.
Confirm the link:
eas project:infoIt prints fullName @<owner>/<slug> and the ID, and errors if general.owner or
general.slug in config.js differ from the project on expo.dev. Fix config.js in
that case, not the server.
Before a cloud build, configure EAS environment variables.
The development profiles use the development environment. Your local .env.local
file is excluded from the build upload.
Run the app
NativeExpress needs a development build because its native modules and config plugins are not included in Expo Go . Choose a cloud or local build:
Cloud build
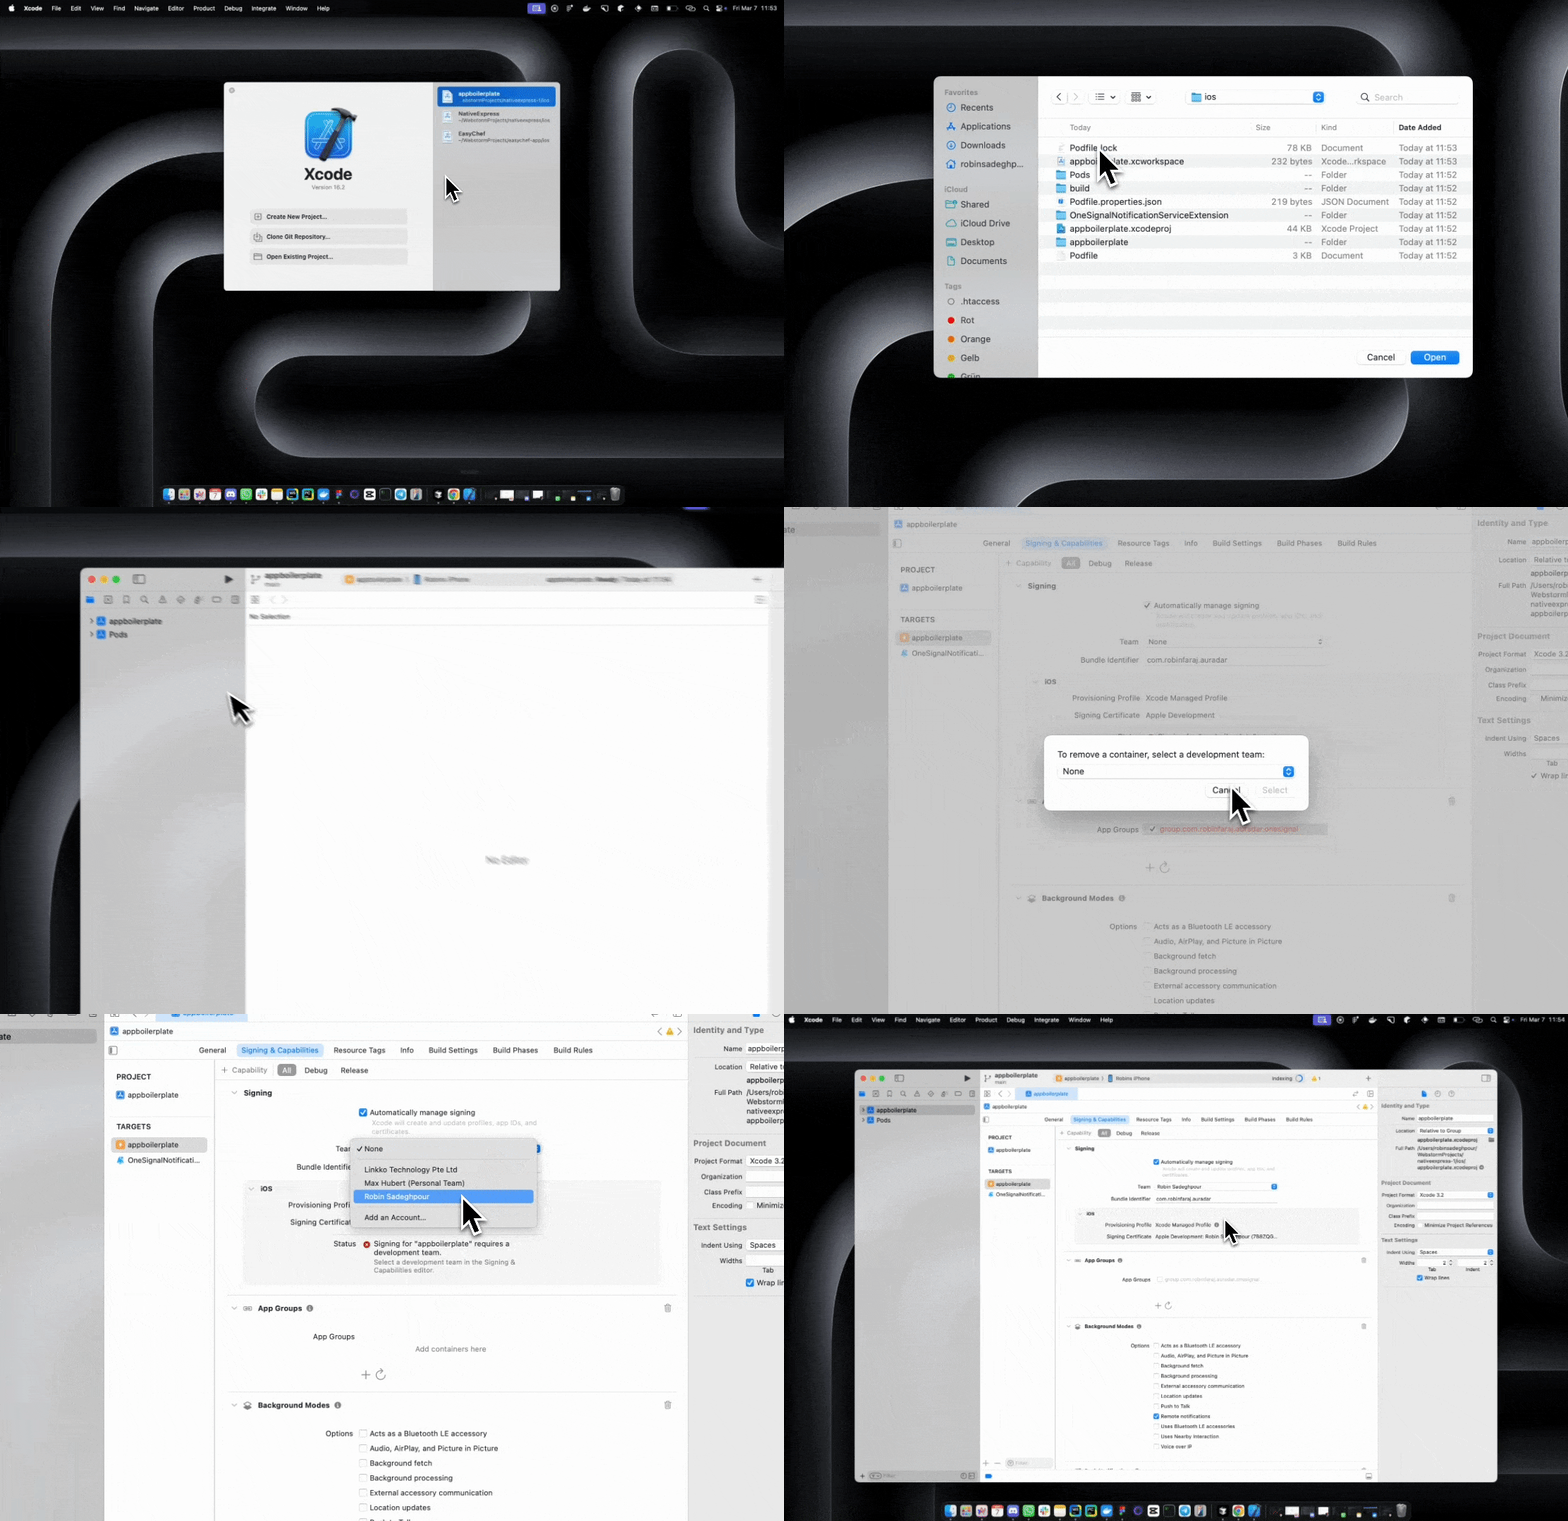
For a physical iPhone, you need paid Apple Developer Program membership and a registered device with Developer Mode enabled. The first iOS build asks to generate a distribution certificate and register the device; the prompts are listed in Production builds.
eas build --profile developmentInstall the build on your device, then start the development server:
yarn startFor an iOS simulator, use eas build --platform ios --profile development-simulator.
Running the simulator requires Xcode on a Mac. An Android development build,
eas build --platform android --profile development, needs no credentials at all and
installs directly on any Android phone.
Verify
Run yarn skills:doctor and review missing values or unavailable checks. In the app,
complete onboarding, sign up and confirm your email if required. Sign in and send a
message in Chat using a free model. A streamed reply confirms that authentication,
the database and the chat function can reach the AI provider.
Make it look like your product
The app runs with the boilerplate’s mono look. Generate your own theme from your
brand colours, swap the fonts and build the icon and splash from your logo by following
Design.
Optional integrations
Add these when your app needs them:
- Payments: RevenueCat and optional Superwall paywalls
- Push notifications: OneSignal
- Analytics: PostHog
- Monitoring: Sentry
- Google and Apple sign-in
Pro-only models and image generation also need the server-side RevenueCat configuration described in function secrets.